Supported Apps
Windows apps are distributed via GitHub releases.
Download the latest .exe or
.zip from the official repository.
Your VLESS Link
Get your VLESS link from the Hue VPN dashboard. Example:
https://sub.huevpn.com/4853285291/sub/mmlwxrmn8ouhkemj
Setup: Happ

-
1Download Happ
-
2Extract and run Happ.exe
Happ is a portable app — no installation needed. Simply run
Happ.exefrom the extracted folder. -
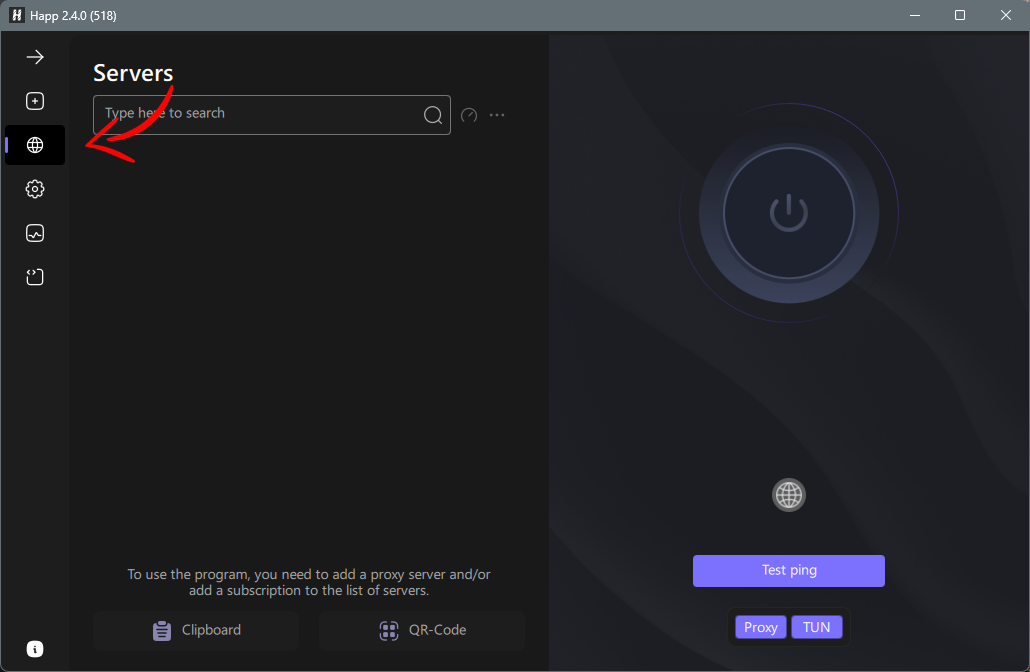
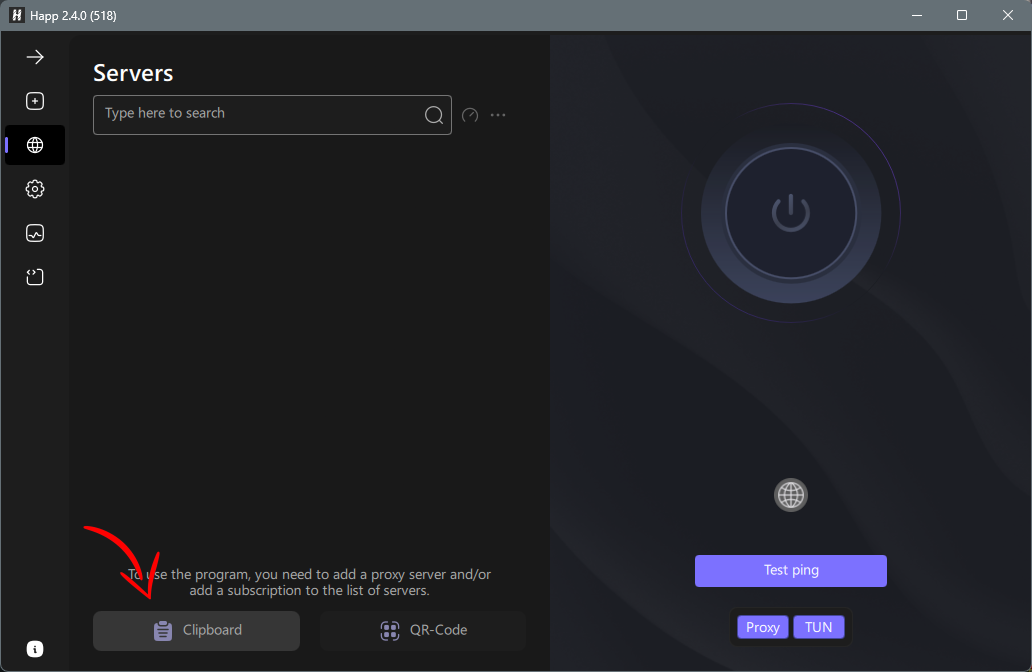
3Import your VLESS link
Click Add Proxy and paste your VLESS URL. The configuration is parsed and saved automatically.
-
4Connect
Select the server and click Connect. The tray icon will turn green when connected.
Setup: v2rayN
v2rayN is the go-to Windows client for v2ray protocols. It runs in the system tray and supports global proxy, system proxy, or per-application routing.
-
1Download v2rayN from GitHub
Go to the releases page and download the latest
Download v2rayNv2rayN-With-Core.zip(includes v2ray-core, no separate download needed). -
2Extract and launch v2rayN.exe
Extract the ZIP to a folder (e.g.
C:\v2rayN\). Runv2rayN.exe. The app will appear in your system tray (bottom-right). Double-click the tray icon to open the main window. -
3Import your VLESS link from clipboard
Copy your VLESS link. In v2rayN, click Servers → Import bulk URL from clipboard (or press Ctrl+V). Your server will appear in the list.
-
4Select the server and set routing mode
Right-click the server in the list and select Set as active server. Then in the system tray, right-click the v2rayN icon and choose a routing mode:
- System proxy — routes browser and system traffic
- Global — routes all traffic through the VPN
-
5Verify the connection
Right-click the tray icon → Test all server real delay. If the server shows a ping (e.g.
120ms), you're connected. You can also visit a website to confirm your IP has changed.
Setup: Hiddify
Hiddify for Windows provides a modern GUI with subscription management. Ideal if you want auto-updating server lists.
-
1Download Hiddify for Windows
Download the latest
Download Hiddify.exeinstaller or portable.zipfrom GitHub Releases. -
2Install and launch
Run the installer and follow the prompts. Launch Hiddify from the Start Menu or desktop shortcut.
-
3Add your VLESS config
Click Add Config in the main window. Choose Paste Link and paste your VLESS URL, or add a Subscription URL for automatic server updates.
-
4Connect
Click the large Connect button. Approve any Windows firewall prompts. Your traffic is now routed through Hue VPN.
Manual Configuration (v2rayN)
To add a VLESS server manually in v2rayN, go to Servers → Add VLESS server and fill in:
| Field | Value |
|---|---|
| Address | server.huevpn.com |
| Port | 443 |
| UUID | your-uuid-from-dashboard |
| Encryption | none |
| Transport | ws |
| Path | /vless |
| Host | server.huevpn.com |
| TLS | tls |
| SNI | server.huevpn.com |
| Fingerprint (uTLS) | chrome |
| Allow Insecure | false / unchecked |
| Remark | HueVPN |